
Vous pouvez cuire du vrai levain à la maison sans passer des semaines à construire une levade — et le résultat n’en est pas moins authentique. Il y a deux raccourcis honnêtes, et aucun ne fait de compromis sur la saveur ou la qualité de la fermentation.
Quelque part entre 2020 et aujourd’hui, le levain est devenu une personnalité. Des gens ont donné le nom aux leurs. Publié à propos des horaires de repas. Il a fait son deuil publiquement quand ils sont partis en vacances et que ça est mort. Le levain est devenu le point — et le pain, d’une certaine façon, est devenu secondaire.
Si vous voulez faire du vrai levain à la maison mais que l’idée de maintenir une culture vivante indéfiniment ne vous attire pas, ce guide est fait pour vous. Il y a deux façons honnêtes d’y arriver, et aucune ne nécessite des semaines de développement du levain avant de goûter quelque chose de bon.
Premièrement : Qu’est-ce qui fait que le levain est réellement un levain

La caractéristique déterminante du levain est la fermentation par la levure sauvage et les bactéries lactiques, et non par la levure commerciale. Si vous voulez comprendre exactement ce que ces organismes font à la pâte pendant 24 à 48 heures, notre explication scientifique de la fermentation en détail. Cette fermentation crée la saveur — l’acidité, la profondeur, la légère acidité qui varie selon la façon dont la pâte a été manipulée. Cela affecte aussi la texture, la croûte et (selon des recherches solides) la digestibilité du gluten.
Ce que cela ne requiert pas, c’est que vous ayez personnellement bâti et maintenu la culture. Un levain n’est qu’un moyen de livraison de levures sauvages. Si quelqu’un d’autre l’a construit, c’est quand même de la levure sauvage. La fermentation continue quand même. Le pain est encore du vrai levain.
C’est important parce qu’une grande partie du mystère autour du levain est liée à la possession d’un levain qui ne concerne pas vraiment la qualité du pain. C’est le pain qui compte.
Option 1 : Obtenir le starter auprès de quelqu’un d’autre

C’est le raccourci le plus sous-estimé en pâtisserie maison. Les levains matures sont vraiment partagés librement entre les boulangers. Les sources incluent :
Des boulangeries locales. La plupart des boulangeries artisanales maintiennent un levain qu’elles nourrissent depuis des années — parfois des décennies. Beaucoup vous donneront un petit montant si vous le demandez. Apporte un bocal. Ce n’est pas une demande étrange dans la culture de la boulangerie; C’est un cas normal.
Communautés de levain. Les groupes Facebook, le r/sourdough de Reddit et les forums de boulangerie locaux sont remplis de gens qui vous envoient des starters séchés ou frais. La bibliothèque du levain Puratos en Belgique entretient des centaines de levées patrimoniales et propose des programmes de partage. Il y a tout un monde de partage de starters dont personne ne parle en dehors des cercles de boulangerie.
Levain séché. Plusieurs entreprises vendent du levain séché. Tu le réhydrates, tu le nourris pendant quelques jours, et il devient actif. Cela prend environ une semaine au lieu de 1 à 2 semaines pour construire à partir de zéro, et le starter obtenu est fiable dès le premier jour.
Une fois que vous avez le levain, vous devez le conserver — nourrissez-le une fois par semaine s’il est conservé au réfrigérateur, plus souvent s’il est laissé à température ambiante. Ce n’est pas compliqué, mais ça continue. Si ça ne fait toujours pas appel, va à l’option 2.
Option 2 : Pourquoi un levain surgelé de qualité fonctionne à la maison
Ça ressemble à une excuse, mais ce n’est pas le cas. La plupart des gens qui veulent un bon pain au levain veulent le pain, pas le projet de pâtisserie. Et au Canada, acheter un bon levain signifiait historiquement vivre près d’une boulangerie artisanale ou s’en passer.
Un levain congelé d’un producteur qui le fait correctement — longue fermentation, vraie culture, entièrement cuit — vous permet d’obtenir de vrais résultats au levain à la maison sans la production. Tu mets un pain congelé au four, attends 30 minutes, et tu as quelque chose qui a vraiment le goût de venir d’une boulangerie sérieuse. Parce que c’était le cas.
C’est d’ailleurs ainsi que beaucoup de bons pains sont consommés en France et ailleurs — ce n’est pas tout fait maison. La distinction qui compte est entre le pain industriel et le pain artisanal, et non entre le pain acheté en magasin et le fait maison.
| Construire le démarreur à partir de zéro | Prenez du levain dans une boulangerie | Pain au levain congelé de qualité | |
|---|---|---|---|
| C’est l’heure du premier bon pain | 2 à 3 semaines | 4 à 5 jours | 30 à 35 minutes |
| Efforts en cours | Alimentation hebdomadaire, gestion du frigo | Alimentation hebdomadaire, gestion du frigo | Aucun |
| Compétence requise | High — il faut plusieurs lots pour être réglé | Haut — même processus | Low — juste un four |
| Plafond de qualité | Très haut (une fois maîtrisé) | Très haut (une fois maîtrisé) | Constamment élevé, professionnel |
| Équipement | Cocotte hollandaise, écaille, banneton | Cocotte hollandaise, écaille, banneton | Juste un four |
| Le meilleur pour | Les passionnés de pâtisserie avec le temps | Les boulangers amateurs qui aiment le processus | Tous ceux qui veulent du bon pain maintenant |
Si vous voulez vraiment cuisiner à partir de zéro : le processus honnête
Pour ceux qui veulent aller jusqu’au bout, voici un aperçu honnête de ce qui implique réellement — sans la romantisation.
Construire ou acquérir un starter (1 à 2 semaines si vous construisez à partir de zéro)
Mélangez des poids égaux de farine et d’eau. Nourrissez-le tous les jours. En 1 à 2 semaines, il devrait doubler de façon fiable après chaque tétée, sentir agréablement l’aigre, et montrer une activité constante de bulles. Si vous utilisez un levain acquis, faites-le agir avec 2 à 3 jours avant la cuisson.
Mélangez la pâte (20 minutes)
Un levain basique utilise environ 450 g de farine, 315 g d’eau (70% d’hydratation), 9 g de sel et 90 g de levain actif. Mélangez jusqu’à ce qu’il ne reste plus de farine sèche. Ne pétrissez pas encore — mélangez simplement et laissez reposer pendant 30 minutes. Ce repos (autolyse) permet à la farine de bien s’hydrater et rend la pâte beaucoup plus facile à travailler.
Développer la pâte (3 à 4 heures à température ambiante)
Effectuez 4 séries d’étirements et de plis pendant les 2 premières heures, espacés de 30 minutes. Cela construit la structure sans pétrissage traditionnel. Ensuite, laissez la pâte fermenter en vrac jusqu’à ce qu’elle augmente de 50 à 75% en volume et qu’elle ait un aspect mousseux et vivant sur les bords. Ce moment varie énormément selon la température — dans une cuisine froide, cela peut prendre de 6 à 8 heures; dans une chaude partie, 3–4.
Forme et fermentation finale (la nuit au frigo)
Tournez la pâte sur une surface légèrement farinée, formez-la en rond ou ovale, puis placez-la côté couture vers le haut dans un panier de levée fariné (banneton) ou un bol doublé d’un chiffon bien fariné. Couvrez et réfrigérez toute la nuit — entre 8 et 18 heures. Le froid ralentit la fermentation, développe plus de saveur et rend la pâte plus facile à marquer.
Cuire (45–50 minutes)
Préchauffez votre four à 250°C (480°F) avec une cocotte hollandaise à l’intérieur pendant au moins 45 minutes — la préchauffe n’est pas optionnelle. Retournez la pâte froide sur du papier sulfurisé, marquez le dessus avec un couteau bien aiguisé ou un lame à pain (une lame de rasoir courbée), puis déposez-la dans la cocotte hollandaise brûlante. Faites cuire couverte pendant 20 minutes pour retenir la vapeur, puis retirez le couvercle et laissez cuire encore 20 à 25 minutes jusqu’à ce qu’elles soient profondément dorées. Laissez-la refroidir au moins une heure avant de couper — l’intérieur reste en dur pendant qu’il refroidit.
L’équipement qui compte vraiment

Vous n’avez pas besoin d’un four de terrasse professionnel, d’un système d’injection de vapeur ou d’une machine à pain à 400 $. Ce dont vous avez besoin :
Une cocotte hollandaise ou une casserole à couvercle épais capable de supporter une chaleur à 250°C — ou le Chest-Iron Atome Mold, spécialement conçu pour ça. La fonte est idéale (Le Creuset, Lodge, ou n’importe quelle fonte sans nom qui convient à votre four). C’est l’équipement le plus important parce qu’il emprisonne la vapeur lors de la première phase de cuisson — c’est cette vapeur qui maintient la croûte molle pendant que le pain se dilate, créant le « ressort du four » qui donne au levain sa structure ouverte. Sans récipient couvert, la croûte durcit trop tôt et le pain ne peut pas bien se dilater.
Une balance de cuisine. Les mesures de volume (tasses) ne sont pas assez fiables pour le pain. Les mesures de poids sont. C’est la deuxième chose la plus importante.
Un panier de levée (banneton) ou un bol avec un chiffon fariné. C’est agréable à avoir, pas indispensable — vous pouvez les faire lever dans un bol ordinaire doublé d’un torchon bien fariné — mais un banneton est peu coûteux et vaut la peine d’être acheté si vous comptez cuisiner régulièrement.
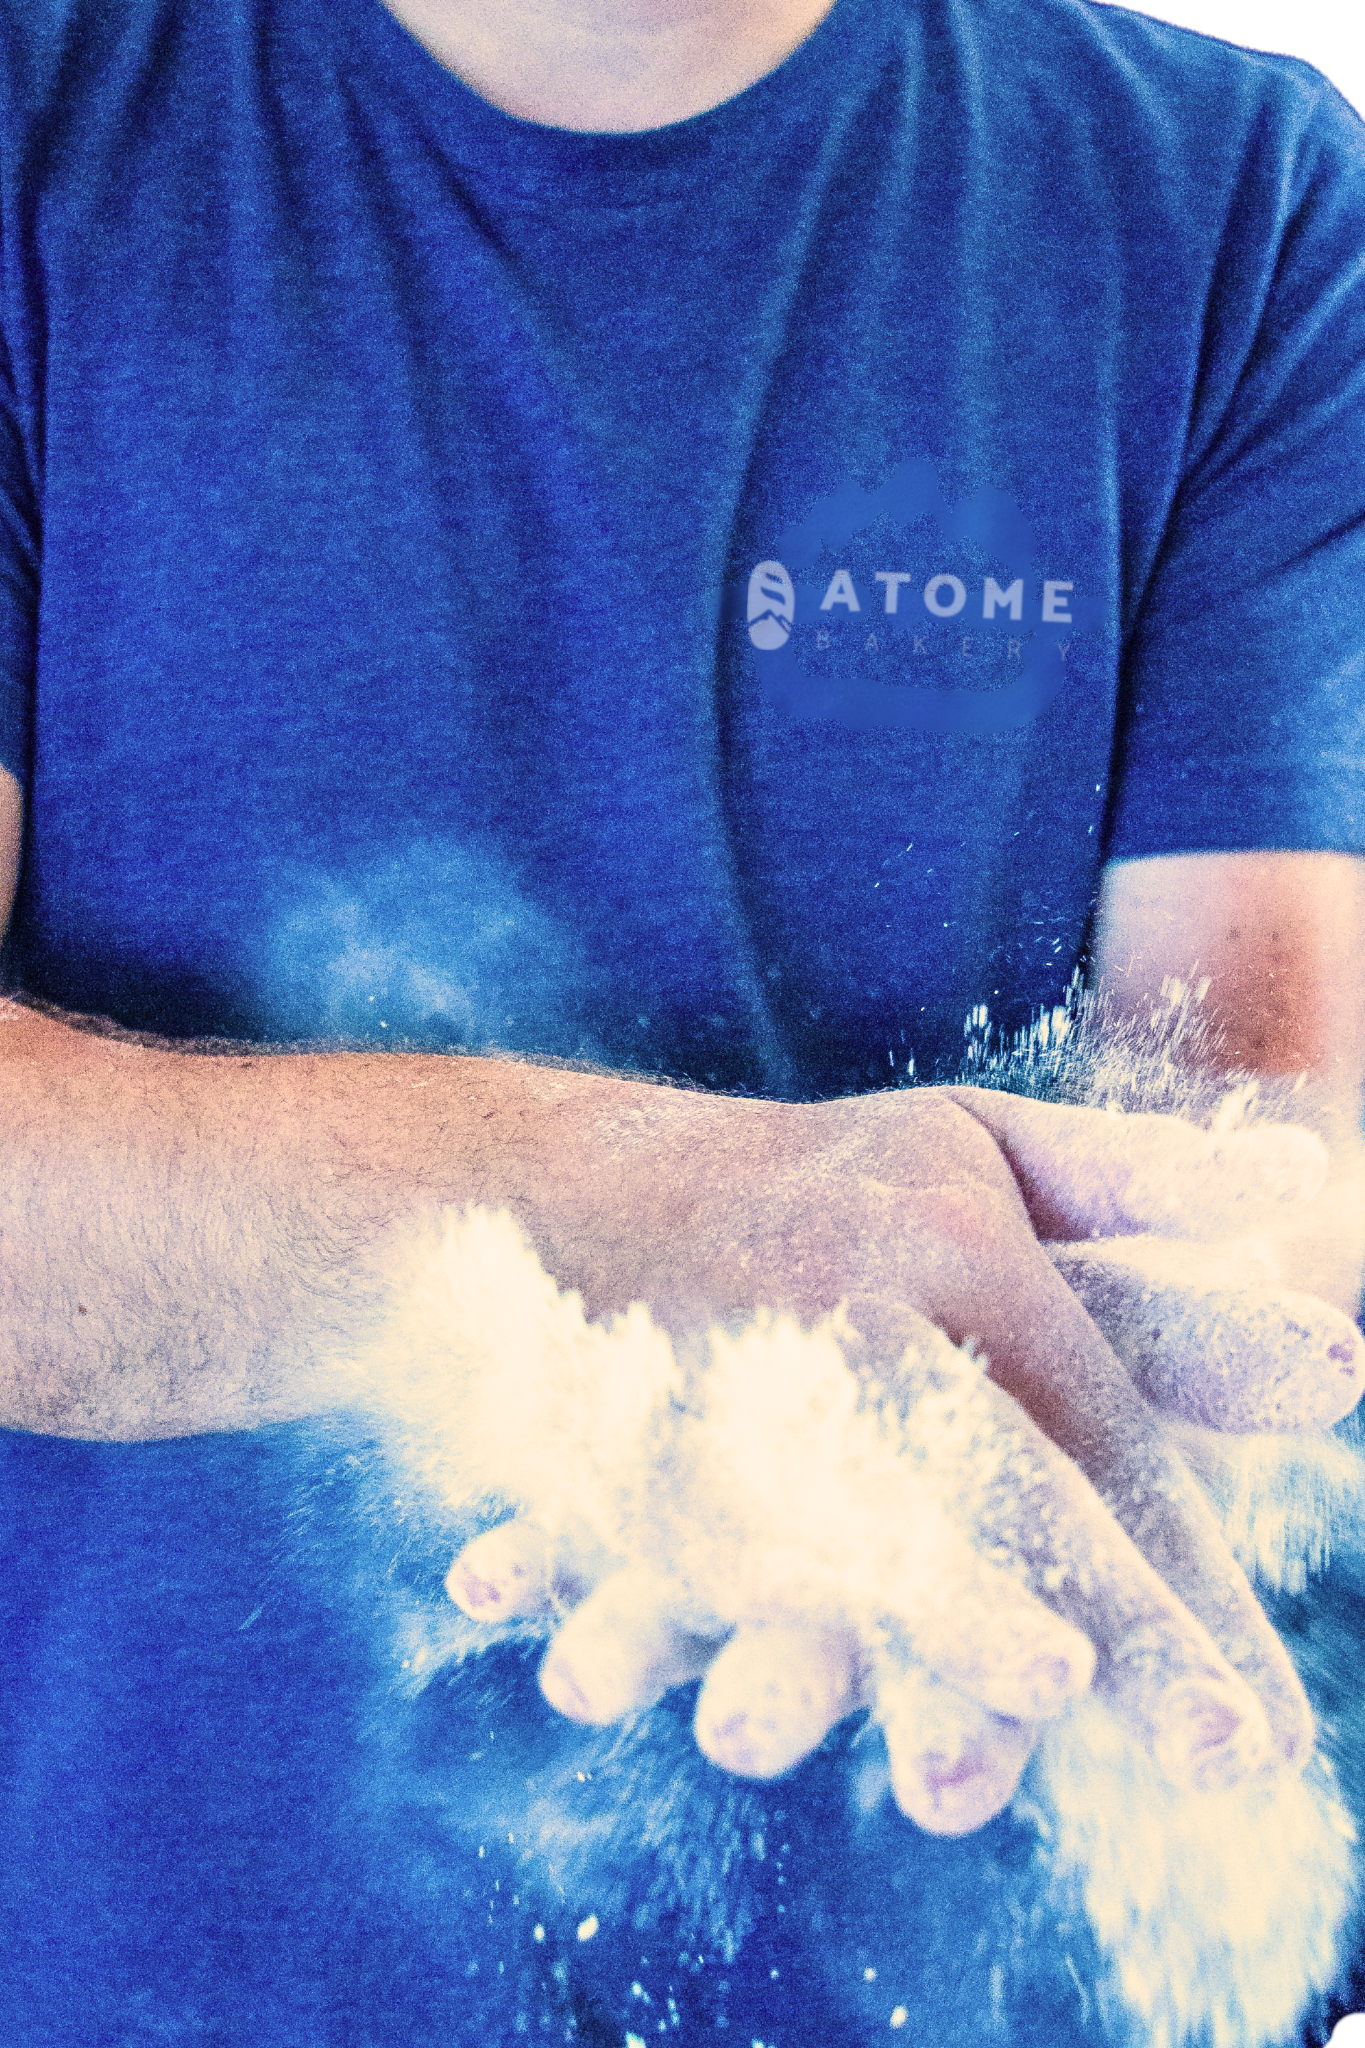
Chez Atome — lauréat du prix BC Food & Beverage 2025, 29 000+ boîtes expédiées à travers le Canada — nous utilisons un principe similaire mais sous une forme différente — nos pains sont cuits dans un récipient fermé spécialement conçu pour recréer l’environnement de retenue de vapeur d’un four de terrasse professionnel. C’est pour ça que la croûte sort comme elle le fait, et pourquoi cuire à partir de la cuisson congelée dans votre four maison donne des résultats difficiles à expliquer avant d’avoir essayé.
Qu’est-ce qui va mal tourner et pourquoi

Les problèmes les plus courants avec le levain maison et ce qui les cause réellement :
Pain plat sans ressort au four : ça veut généralement dire que la pâte a été surfermentée pendant la grosse quantité ou que le levain n’était pas assez actif. Le levain actif devrait doubler dans les 4 à 8 heures suivant le repas. Si le tien est lent, nourris-le plus souvent pendant quelques jours avant de cuire au four.
Une miette dense sans trous : soit sous-fermentée (pas assez de temps ou trop froide), soit le développement du gluten était insuffisant (pas assez d’étirements et de plis). Ça arrive aussi quand tu sautes la cocotte hollandaise.
Intérieur gommeux lorsqu’il est tranché : ça veut presque toujours dire que tu l’as coupé trop tôt. L’intérieur a besoin d’au moins une heure pour finir de durcir après être sorti du four. La croûte restera croustillante; La miette sera collante si vous vous dépêchez cette étape.
Croûte qui devient moue rapidement : l’humidité de la miette qui migre vers l’extérieur. Laissez-la refroidir sur une grille métallique pour que l’air puisse circuler en dessous. À conserver dans un sac en papier ou en tissu plutôt que dans du plastique — le plastique retient l’humidité et ramollit la croûte.
Questions fréquemment posées
Combien de temps un levain met-il réellement à construire à partir de zéro?
Typiquement, 7 à 14 jours de repas quotidiens avant d’être constamment assez actif pour lever le pain. Les variables incluent votre type de farine (les farines de grains entiers s’activent plus rapidement), votre eau (l’eau du robinet chlorée peut ralentir — utilisez de l’eau du robinet filtrée ou laissée de côté toute la nuit), et votre température de cuisine.
Est-ce que je dois donner mon levain tous les jours?
Seulement si vous le gardez à température ambiante. Un levain conservé au frigo n’a besoin d’être nourri qu’une fois par semaine. Sors-le la veille de la cuisson, nourris-le, laisse-le atteindre son apogée, et c’est prêt à l’emploi. Pour la plupart des boulangers à la maison, le rangement au frigo est beaucoup plus logique que l’entretien à température ambiante.
Pourquoi mon levain devine-t-il plat même si je suis la recette à la lettre?
Le coupable le plus courant est l’activité de démarrage. Si votre levain ne double pas de façon fiable dans les 4 à 8 heures suivant une tétée, il n’est pas assez fort pour lever le pain. Nourrir régulièrement avec de la farine fraîche pendant 3 à 5 jours avant la cuisson règle généralement le problème. La température compte aussi — une cuisine froide ralentit considérablement la fermentation.
Quelle est la meilleure farine pour le levain?
Une farine à pain contenant 12 à 13% de protéines est le point de départ standard. Ajouter 10 à 20% de farine de blé entier ou de seigle améliore l’activité de fermentation et ajoute de la complexité des saveurs. Évitez la farine blanchie, qui peut inhiber la levure sauvage dans votre levain.
Puis-je avoir un bon levain sans le cuire moi-même?
Oui. La distinction qui compte pour la qualité est entre artisan et industriel, et non fait maison ou acheté. Nous avons couvert ici toute l’affaire pour un pain artisanal correctement congelé. Un pain au levain bien fait, congelé à sa fraîcheur maximale et cuit au four aura meilleur goût qu’un pain maison fait à la hâte. Trouvez un producteur dont la liste d’ingrédients est courte (farine, eau, sel, levain) et qui peut vous dire combien de temps dure leur fermentation.

Laissez un commentaire
Ce site est protégé par hCaptcha et la politique de confidentialité ainsi que les conditions d’utilisation de hCaptcha s’appliquent.